


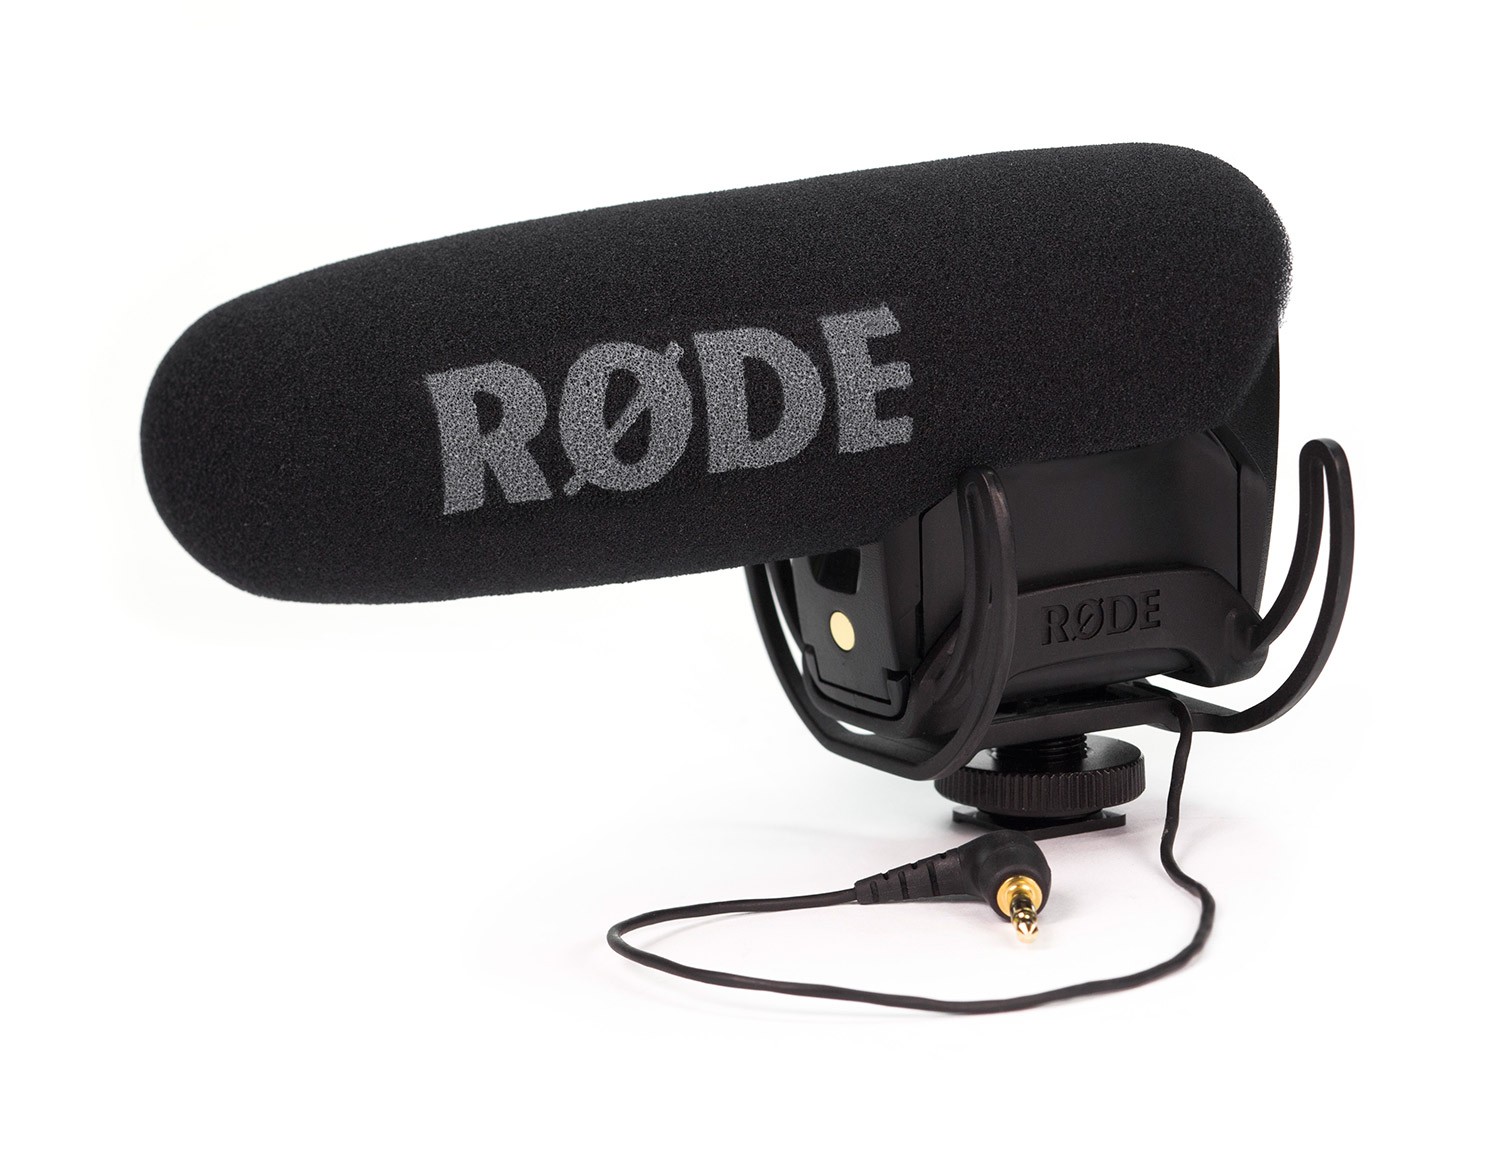
MICRO RODE VIDEOMIC PRO
233,00 €ex. VAT175,00 €ex. VAT
In stock (last pieces)
- Polar diagram: super cardioid
- Unidirectional directionality
- 1/2″ capacitor capsule
- Enables recording in broadcast quality
- Frequency response: 40 - 20000 kHz
- Sensitivity: 20 mV
- Clean sound: 14 dBA
- SPL: 134 dB
- Lightweight, compact plastic case
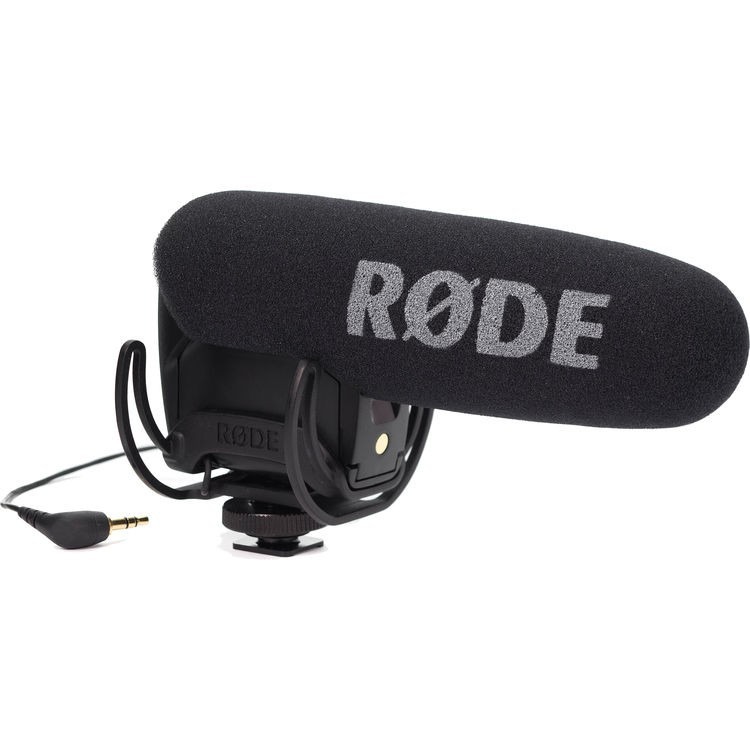
- Rycote Lyre shock absorber system - integrated mounting
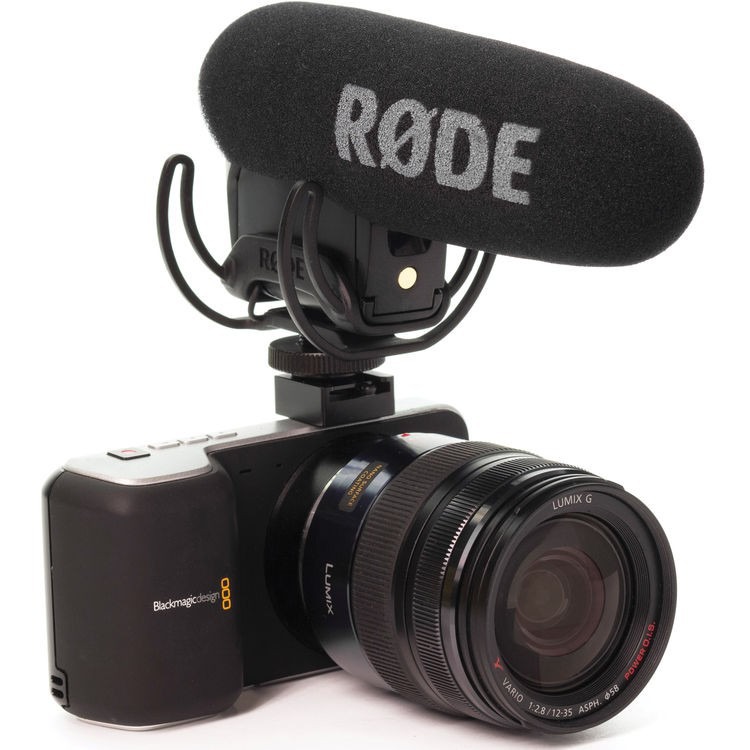
- Camera mounting with integrated hot-shoe adapter
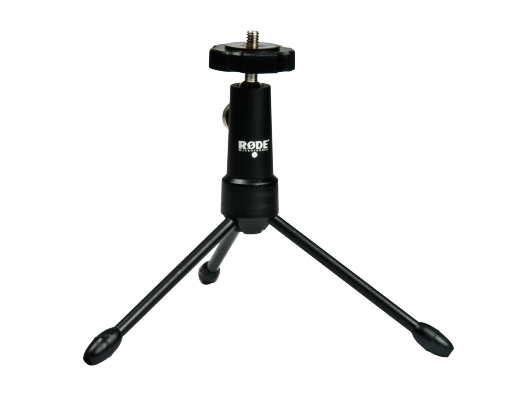
- 3/8″ base for tripod or pole
- Connecting cable with 3.5 mm TRS jack plug (Dual mono)
- Switchable pre-attenuation (-10 dB)
- Switchable boost level (+20 dB) for quiet sound sources
- Switchable high-pass filter (80 Hz) to eliminate low-frequency noise
- Powered by 9V battery (not included)
- On/off switch with battery status LED
- Over 70 hours of operation with a new quality battery
- Length: 150 mm
- Weight: 85 g (without battery)
- Attached foam cap
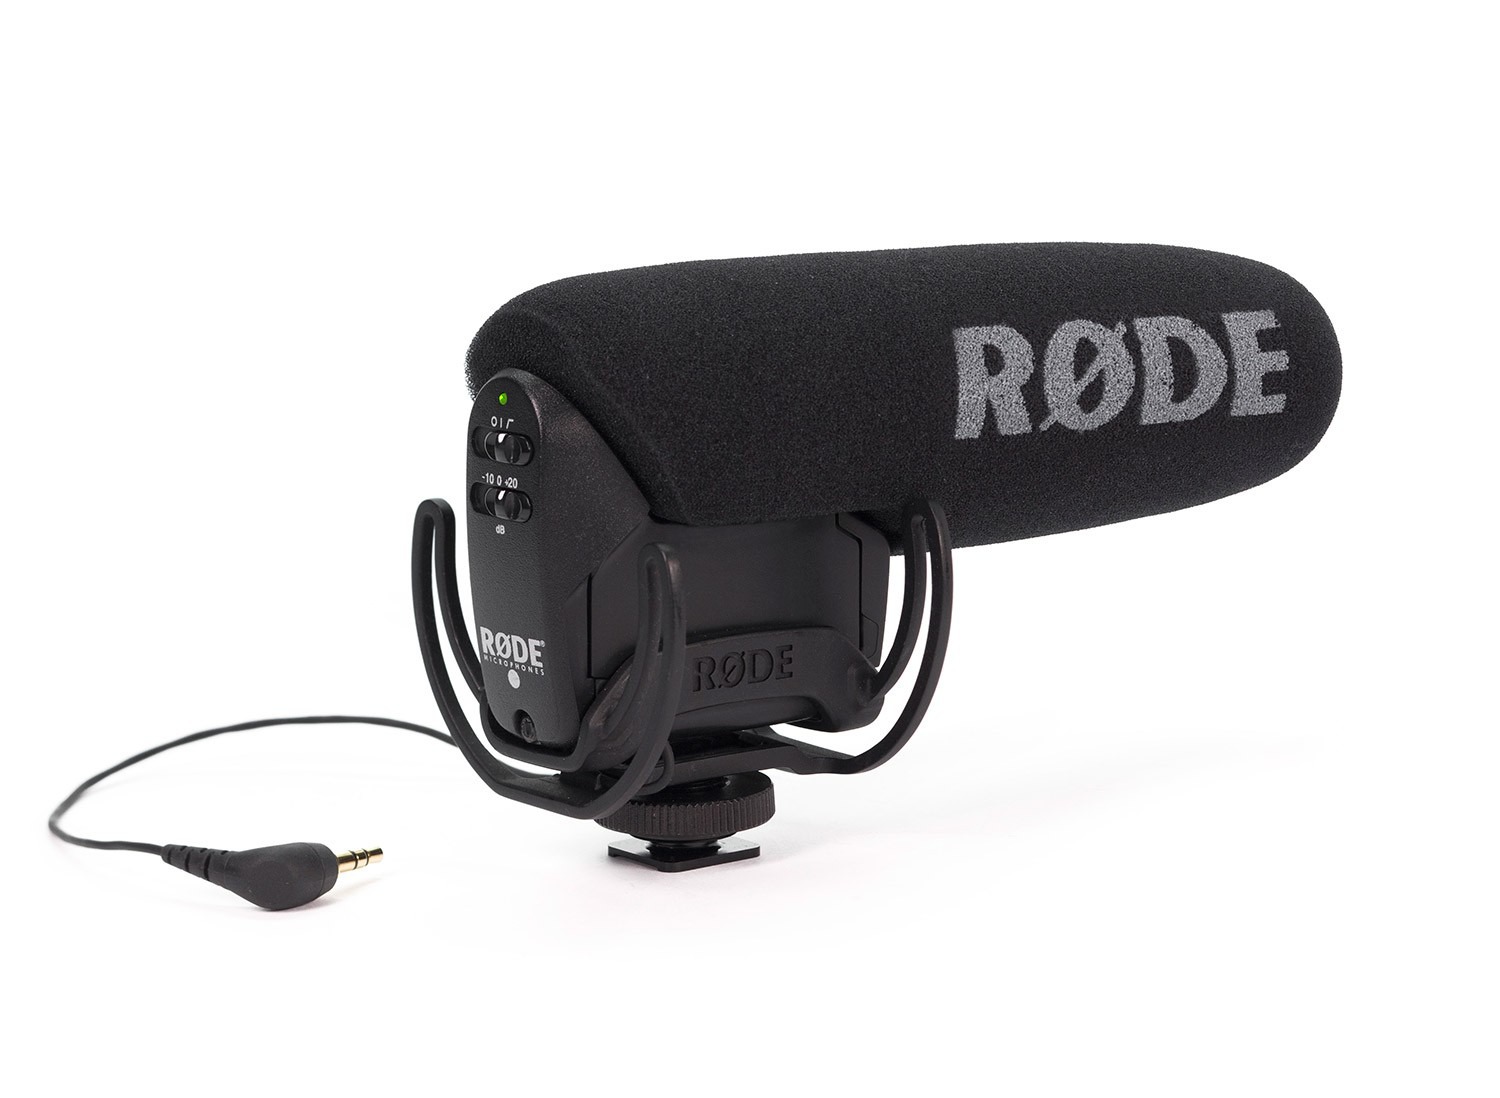
Detailed inspection
Adjustable high-pass filter (0, 80Hz).
3-position level selector (-10dB, 0dB, +20dB).
Power indicator.
Camera hot shoe and 3/8" thread for easy pole mounting.
Sound quality beyond reproach
Powered by a 9V battery - over 70 hours of use (alkaline).
Very quiet circuits.
Flexible, lightweight cable to minimize handling noise and ensure isolation.
Australian design and manufacture.
10-year warranty on recorded microphones
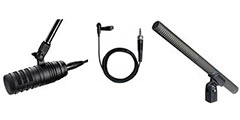
Microphones like the VideoMic Pro have a narrower directivity (pick-up angle) and are therefore ideal for capturing sound
weddings or sporting events. Use the VideoMic Pro when you want to pick up signals that are
in line with the microphone, but not sound coming from behind or to the sides.
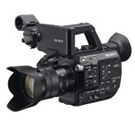
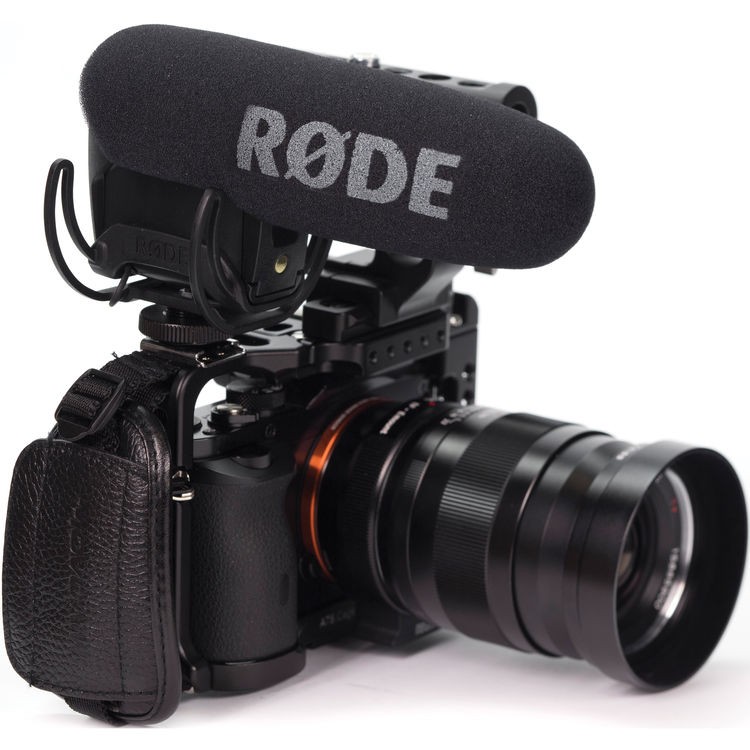
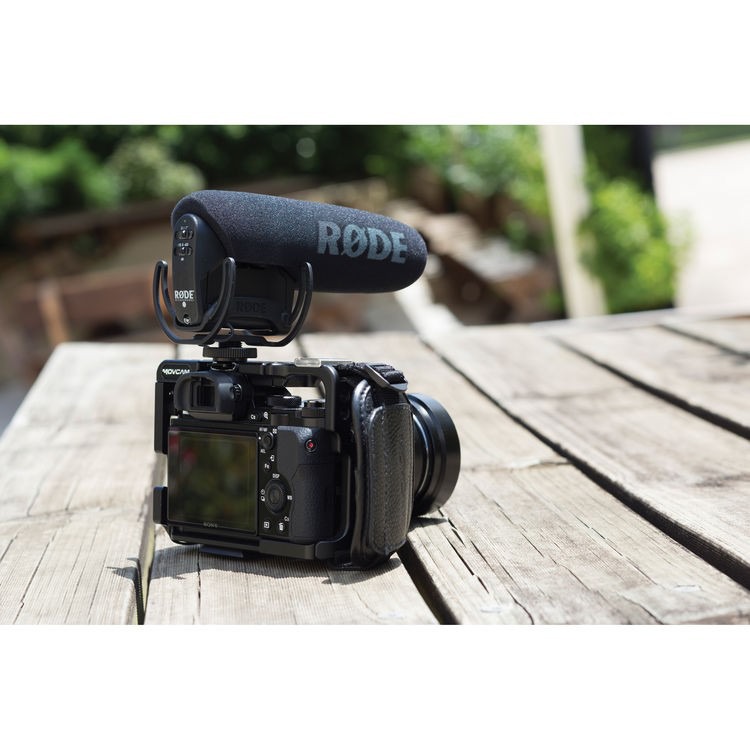
Camera installation
The VideoMic Pro features a standard camera shoe under the suspension cradle. Designed to reduce motor and handling noise
and handling noise transmitted from the camera to the microphone, the shoe also features a 3/8" thread for mounting on a tripod or boom.
Older or entry-level cameras can generate mechanical noises that the VideoMic Pro may pick up.
Consider activating the high-pass filter to reduce hum and other low-level noise.
Loosen the fixing knob (counter-clockwise) before inserting the shoe into the camera's hot shoe. Turn the knob clockwise
clockwise to secure the VideoMic Pro to the camera.